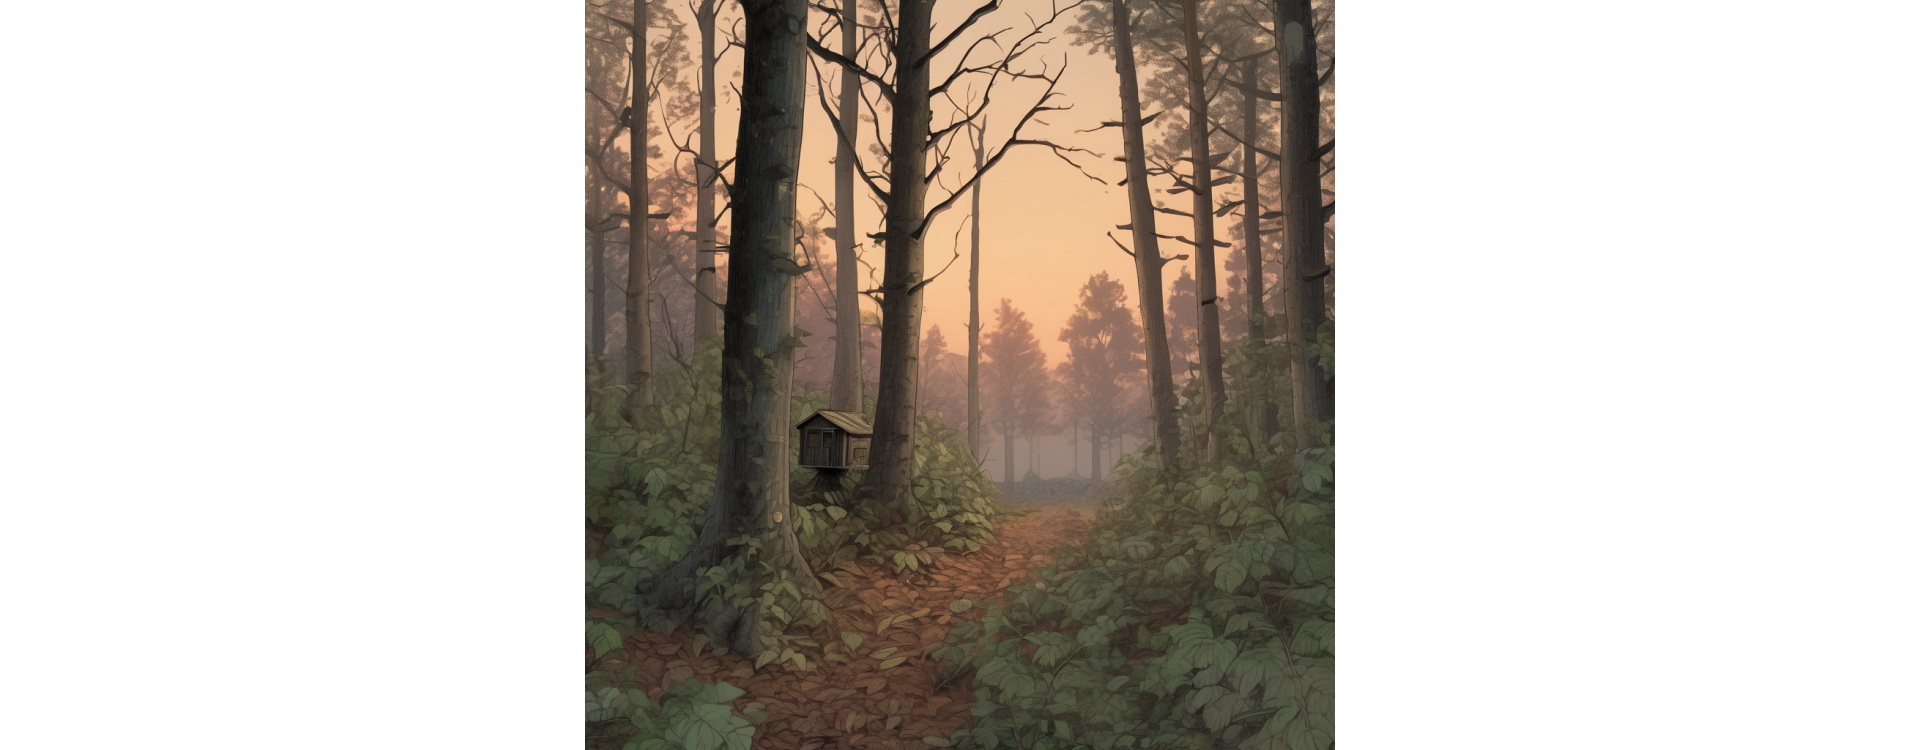
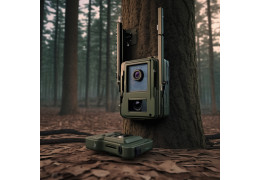
Strategic placement of a trail camera is essential to capturing quality wildlife footage. Whether you are a hunter, wildlife photographer, or nature enthusiast, this article will guide you through the best practices for positioning your camera and achieving exceptional results.
Understanding the importance of placement
Choosing where to place your trail camera can make all the difference between mediocre footage and spectacular shots. Proper placement will allow you to:
- Maximizing your chances of capturing animals
- Getting clear, well-framed images
- Maintain the discretion of your device
- Protect your equipment from the elements and vandalism
Choosing the right site
Before you mount your camera, it’s crucial to identify areas with high potential. Here are some places to consider:
1. Trails and tracks
Animals tend to follow the same paths regularly. Place your camera along these trails to increase your chances of capturing them.
2. Water points
Springs, streams and ponds naturally attract wildlife, especially during hot or dry periods.
3. Feeding areas
Look for fruit trees, cultivated fields or areas rich in vegetation favored by the animals you want to observe.
4. Clearings and edges
These transition zones between different habitats are often frequented by a wide variety of species.
Positioning techniques
Once you have chosen a site, it is important to position your camera correctly to get the best results.
Height and angle
Place your camera about 1 meter to 1.5 meters above the ground. Tilt it slightly downward to capture the entire animal. Avoid pointing it directly at the ground or sky.
Distance
Position the camera 3 to 10 meters from the target area, depending on the model of your camera and the size of the animals you hope to photograph.
Orientation
If possible, point your camera north or south to avoid backlighting at sunrise and sunset which could overexpose your images.
Fixing and camouflage
How you mount and camouflage your camera is crucial to its longevity and effectiveness.
Secure fixing
Use strong straps or special mounts to firmly attach your camera to a tree or pole. Make sure it won't move, even in high winds.
Natural camouflage
Take advantage of the surrounding vegetation to hide your camera. You can add a few branches or leaves around, but be careful not to obstruct the field of vision or the motion sensor.
Ethical and legal considerations
When placing your trail camera , keep these important points in mind:
- Always follow local laws and regulations regarding the use of trail cameras.
- Obtain permission from the landowner if you are installing your camera on private land.
- Avoid disturbing the animals' natural habitat when installing.
- Do not place your camera in areas frequented by the public to respect the privacy of others.
Maintenance and monitoring
Once you have your camera installed, remember these important steps:
Regular checks
Periodically inspect your camera to ensure that it is working properly, that the batteries are charged, and that the memory card is not full.
Seasonal adjustments
Animal habits change with the seasons. Feel free to move your camera to follow these changes.
Analysis of results
Review your captures regularly to identify trends and improve your placement strategy.
Conclusion
Optimal placement of a trail camera is an art that is refined with experience. By following these tips and remaining attentive to the habits of the local wildlife, you will greatly increase your chances of capturing exceptional images.
Remember, patience is your best friend. It can take several weeks before you get the shots you want. Keep experimenting, learning from your mistakes, and soon, your trail camera will reveal the fascinating secrets of the wildlife around you.
Happy photographic hunting!

 Night Vision Hunting Cameras: Photo & Video Quality Guide 2024Read more
![Trail camera Battery Life: Complete Guide 2024 [Durée de Vie & Conseils]](https://gamecams.co.uk/img/ybc_blog/post/thumb/Autonomie-Camera-de-chasse.jpg "Trail camera Battery Life: Complete Guide 2024 [Durée de Vie & Conseils]") Trail camera Battery Life: Complete Guide 2024 [Durée de Vie & Conseils]Read more
Trail camera Battery Life: Complete Guide 2024 [Durée de Vie & Conseils]Read more